
How to Install a Pendulum Ride – A Complete Step‑by‑Step Guide
Installing a pendulum ride is a complex engineering project – far more than just bolting parts together. It requires meticulous planning, professional construction, and strict safety inspections. This article walks you through the entire installation process, from site selection to final handover.
1. Installation Phases at a Glance
The installation of a pendulum ride typically consists of five core phases:
- Phase 1 – Planning & Permits: Site survey, permits, utility preparation.
- Phase 2 – Foundation Works: Concrete pouring (or foundation‑free) and curing.
- Phase 3 – Delivery & Lifting: Transport, unloading, inventory, crane operations.
- Phase 4 – Assembly & Wiring: Structural erection, mechanical connections, electrical cabling.
- Phase 5 – Testing & Approval: Load tests, safety checks, third‑party inspection, handover.
Total duration: small rides may take 3‑10 days; large pendulum rides often need 2‑8 weeks, plus 7‑28 days for concrete curing.
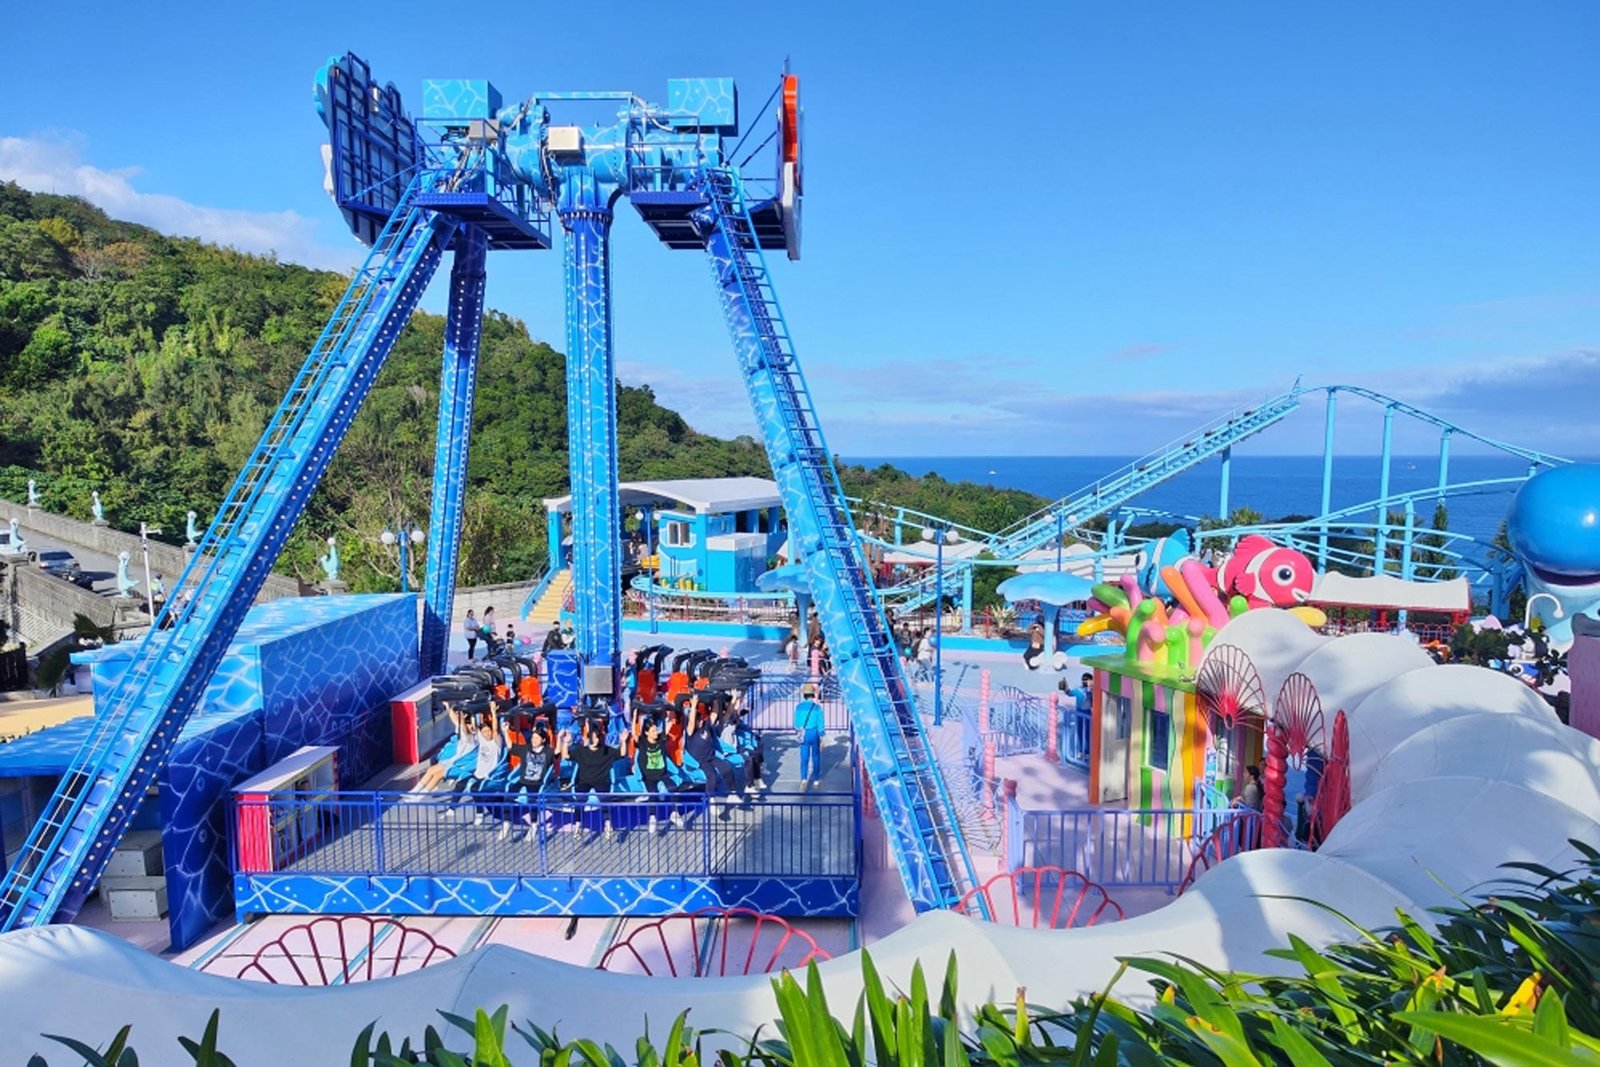
2. Detailed Installation Steps
Phase 1: Planning and Permits
- Site Selection: Choose level, well‑drained solid ground. Obtain geotechnical data (soil bearing capacity).
- Safety Zone: Define clear swing area (e.g., 20 m × 18.5 m for a 25‑seat ride). No obstacles allowed.
- Permits: Submit plans to local authorities.
- Utilities: Ensure dedicated 380V industrial power, drainage, and emergency access.
Phase 2: Foundation – The Ride’s Anchor
- Excavation & Reinforcement: Dig pit (1.8‑2.0 m deep) and lay rebar cage.
- Anchor Bolt Placement: Use manufacturer’s template to precisely position bolts – any deviation can prevent mounting.
- Pouring & Curing: Use high‑grade concrete (e.g., C30) and cure for at least 7 days.
- Foundation‑Free Option: On existing sturdy asphalt, a pre‑designed solution can save 40‑60% of installation time.
Phase 3: Delivery and Lifting Preparation
- Receiving: Check all components against packing list.
- Worksite: Clear area, set up fences, prepare cranes, torque wrenches, etc.
- Personnel: Assign roles – all must hold valid certificates for high‑altitude and lifting operations.
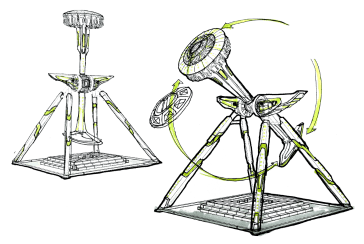
Phase 4: Assembly – The Core Work
- Re‑check foundation: Verify anchor bolt positions and elevations.
- Install column & slewing bearing: Pre‑assemble on ground, then lift.
- Mount main arm & turntable: Assemble on ground, connect to slewing bearing.
- Attach gondola: Connect passenger ring to arm end.
- Install control system: Control cabinet, operator console, sensors.
Phase 5: Electrical and Safety Systems
- Wiring: Connect all power and signal cables.
- Earthing: Ensure reliable grounding for all metal parts.
- Safety devices: Emergency stops, overload protection, anemometer.
- Monitoring: Cameras and confirmation buttons for blind spots.
Phase 6: Testing, Commissioning, and Approval
- No‑load test: Run without passengers.
- Load test: Half‑load and full‑load with sandbags or weights.
- Safety verification: Test every interlock and emergency system.
- Third‑party inspection: Obtain certification from local authority before operation.

3. Installation Budget and Cost Considerations
Installation costs typically range from 5% to 15% of the ride’s purchase price. This includes:
- Transport & logistics – especially for cross‑border moves.
- Foundation work – concrete, rebar, labour.
- Crane rental – multiple cranes may be required.
- Installation crew fees – skilled labour for assembly and wiring.
- Testing & inspection – electrical tuning, load tests, third‑party certification.
💰 Estimated Installation Costs (2026)
- Small ride (up to 20 seats): $20,000 – $50,000
- Mid‑size ride (20‑30 seats): $50,000 – $120,000
- Large ride (30+ seats, custom theming): $150,000 – $400,000+
💡 These are estimates – always get a detailed quote from your installer.
Final Takeaways – Keys to a Successful Installation
📌 Success Checklist
- Plan early – start when you buy the ride, not when it arrives.
- Hire professionals – always use certified, experienced teams.
- Follow the manual – every step must adhere to the OEM’s documentation.
- Respect the foundation – it’s the most common cause of delays.
- Pass official approval – never operate without local certification.
Installing a pendulum ride is about turning blueprints into a safe, thrilling reality. Every careful step ensures the safety and joy of future riders.